Redirection
Redirection
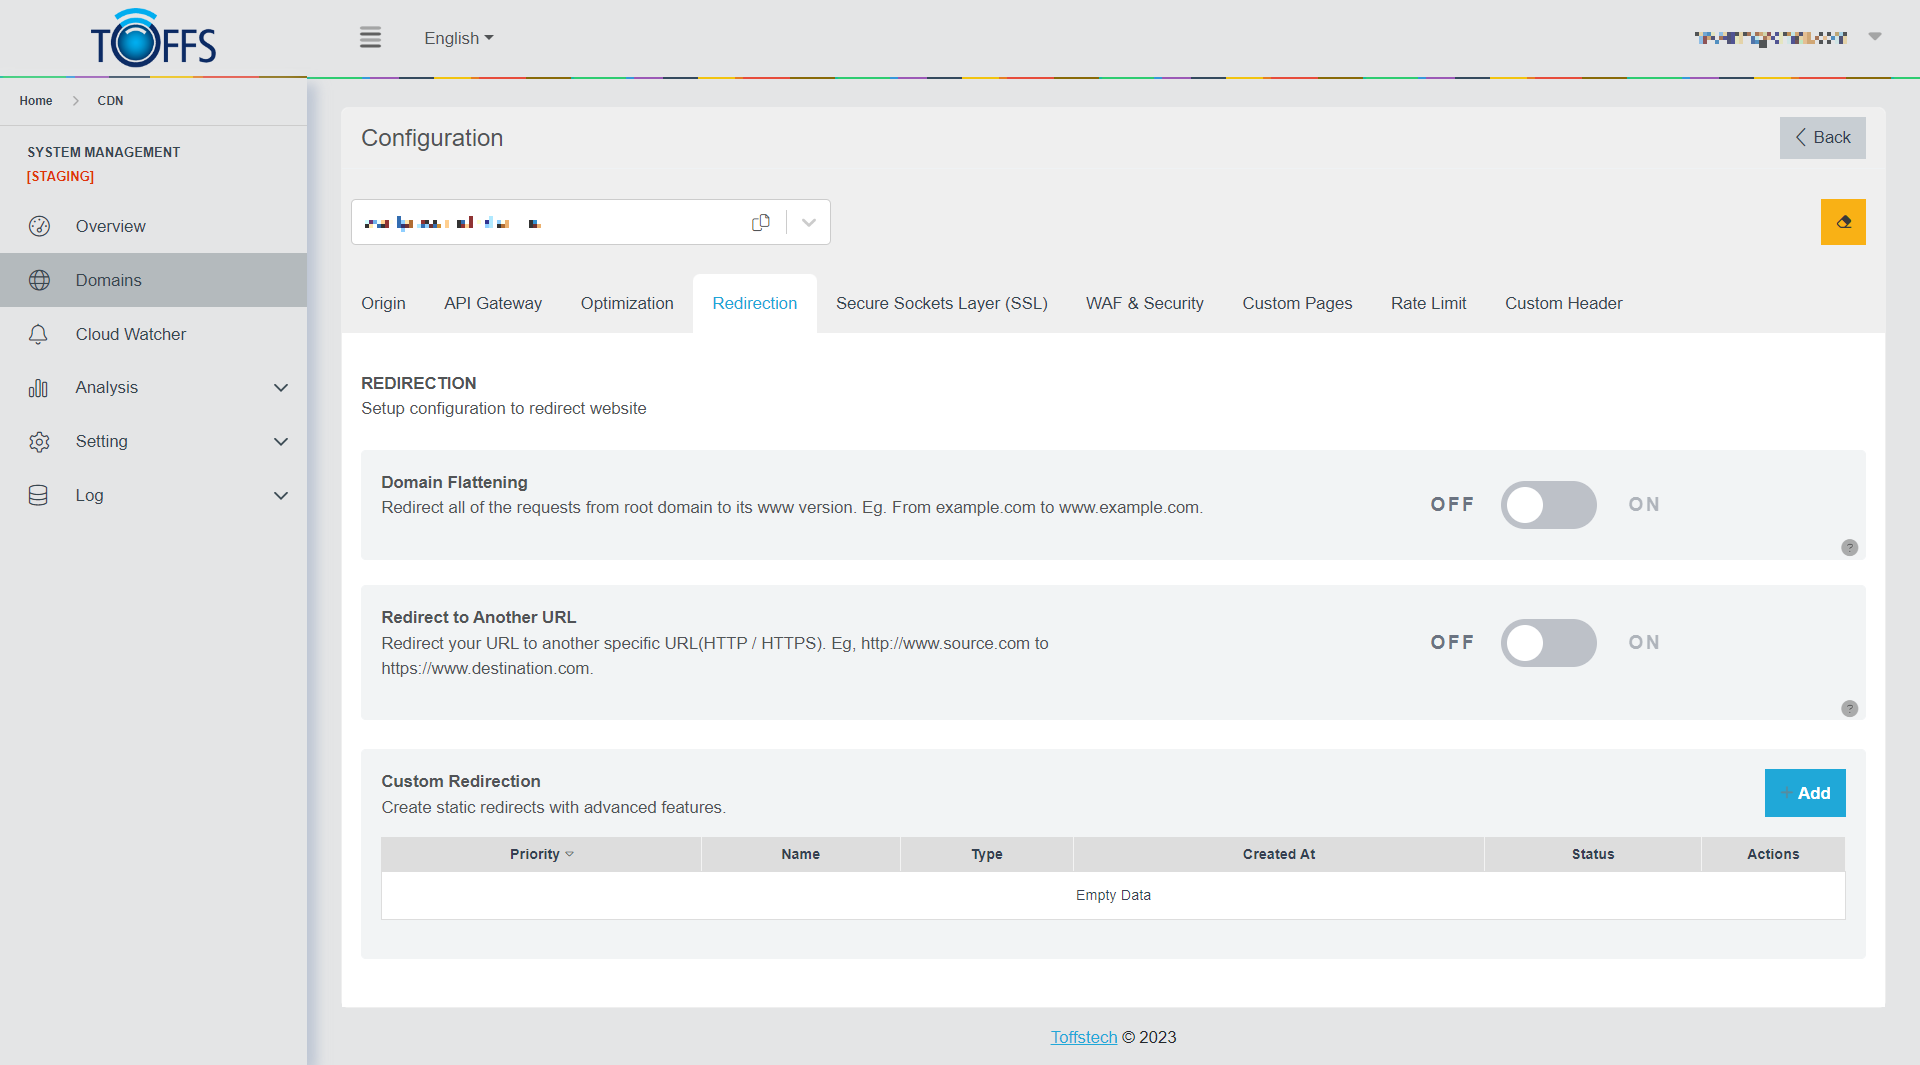 Figure 61
This is the “Redirection” page under the “Configuration” page. Here, we’ll explore various techniques related to URL redirection to manage and optimize web addresses.
Domain Flattening: Domain flattening becomes relevant when you have two different addresses pointing to the same page, such as “www.example.com/index.html” and “example.com/index.html.” Unfortunately, some search engines consider these as distinct pages with duplicate content. To tackle this issue, you can implement URL redirection to ensure that all pages use a single consistent web address. For instance, you can redirect traffic from “example.com” to “www.example.com.”
Redirect URL: URL redirection is a powerful technique that enables you to take one website URL and redirect it to another destination. When users enter or click on the original URL, they are automatically taken to the new page or website. For example, when you access “http://www.source.com,” you will be seamlessly redirected to “https://www.destination.com.”
Custom Redirection: Custom redirection allows you to navigate users from a specific source URL to a designated target URL while also defining a particular HTTP status code for the process.
By understanding and implementing these redirection techniques, you can enhance the user experience and improve the search engine optimization (SEO) of your website by avoiding duplicate content issues.
Setup Domain Flattening
 Figure 62
Domain Flattening refers to the process of redirecting multiple addresses pointing to the same page, such as www.example.com/index.html and example.com/index.html, to a single, preferred URL. Search engines often treat these different addresses as separate pages with duplicate content, which can affect your website’s SEO. By implementing Domain Flattening, you ensure that all visitors are directed to the desired URL structure.
Here’s how you can enable or disable Domain Flattening:
- Navigate to Redirection page
- Look for the “Domain Flattening” option or toggle.
- Toggle the switch to “ON” if you want to enable Domain Flattening or “OFF” if you want to disable it.
Enabling Domain Flattening will ensure that all variations of your domain address, such as example.com, are redirected to the preferred version, like www.example.com. This not only helps improve your website’s search engine ranking but also provides a consistent experience for your users.
Remember to save your changes after enabling or disabling Domain Flattening for it to take effect on your website.
Setup Redirect to Another URL
 Figure 63
URL redirection is a technique that allows you to redirect one website URL to another. This means that when users enter or click on the original URL, they will automatically be taken to the new page or website. For example, if you open “http://www.source.com,” you will be redirected to “https://www.destination.com.”
To set up URL redirection to another website, follow these steps:
Step 1: Enable URL Redirection
On the Redirect page, toggle the option to enable URL redirection. This will reveal the Redirect URL field.
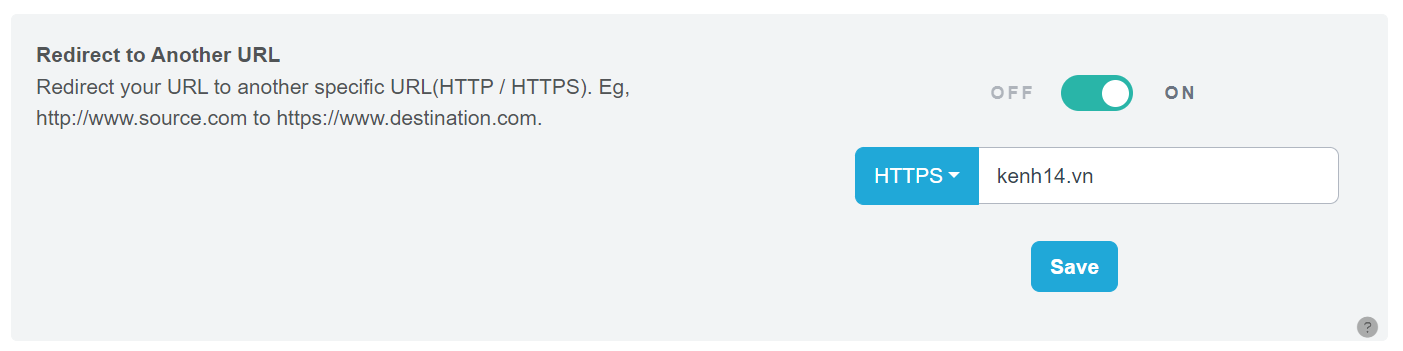 Figure 64
Step 2: Select HTTP or HTTPS Method
Choose between HTTP or HTTPS as the redirection method.
Step 3: Enter the Redirect URL
Input the URL of the destination page or website where you want the users to be redirected.
Step 4: Save Your Settings
Click the “Save” button to finalize and apply the URL redirection configuration.
By following these steps, you will successfully set up URL redirection to redirect users from one website to another.
Setup Custom Redirection
In this section, we will learn how to configure custom redirection on a Content Delivery Network (CDN). Custom redirection allows us to navigate users from a source URL to a target URL while specifying a specific HTTP status code.
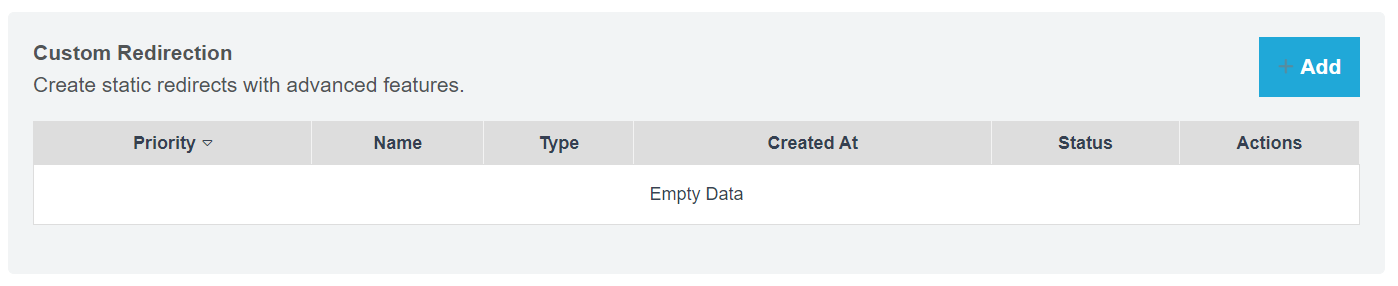 Figure 65
There are two types of custom redirection: Static Redirection and Dynamic Redirection.
Static Redirection: Static redirection involves returning a status code and redirecting to a destination URL when a request meets a certain condition. The destination URL remains constant for all requests.
Dynamic Redirection: Dynamic redirection also returns a status code and redirects to a destination URL when a request meets a condition. However, the destination URL is dynamic, meaning the value at the (.*) address of the request matches the value at the “$xx” address of the destination URL.
Now, let’s proceed with creating custom redirection:
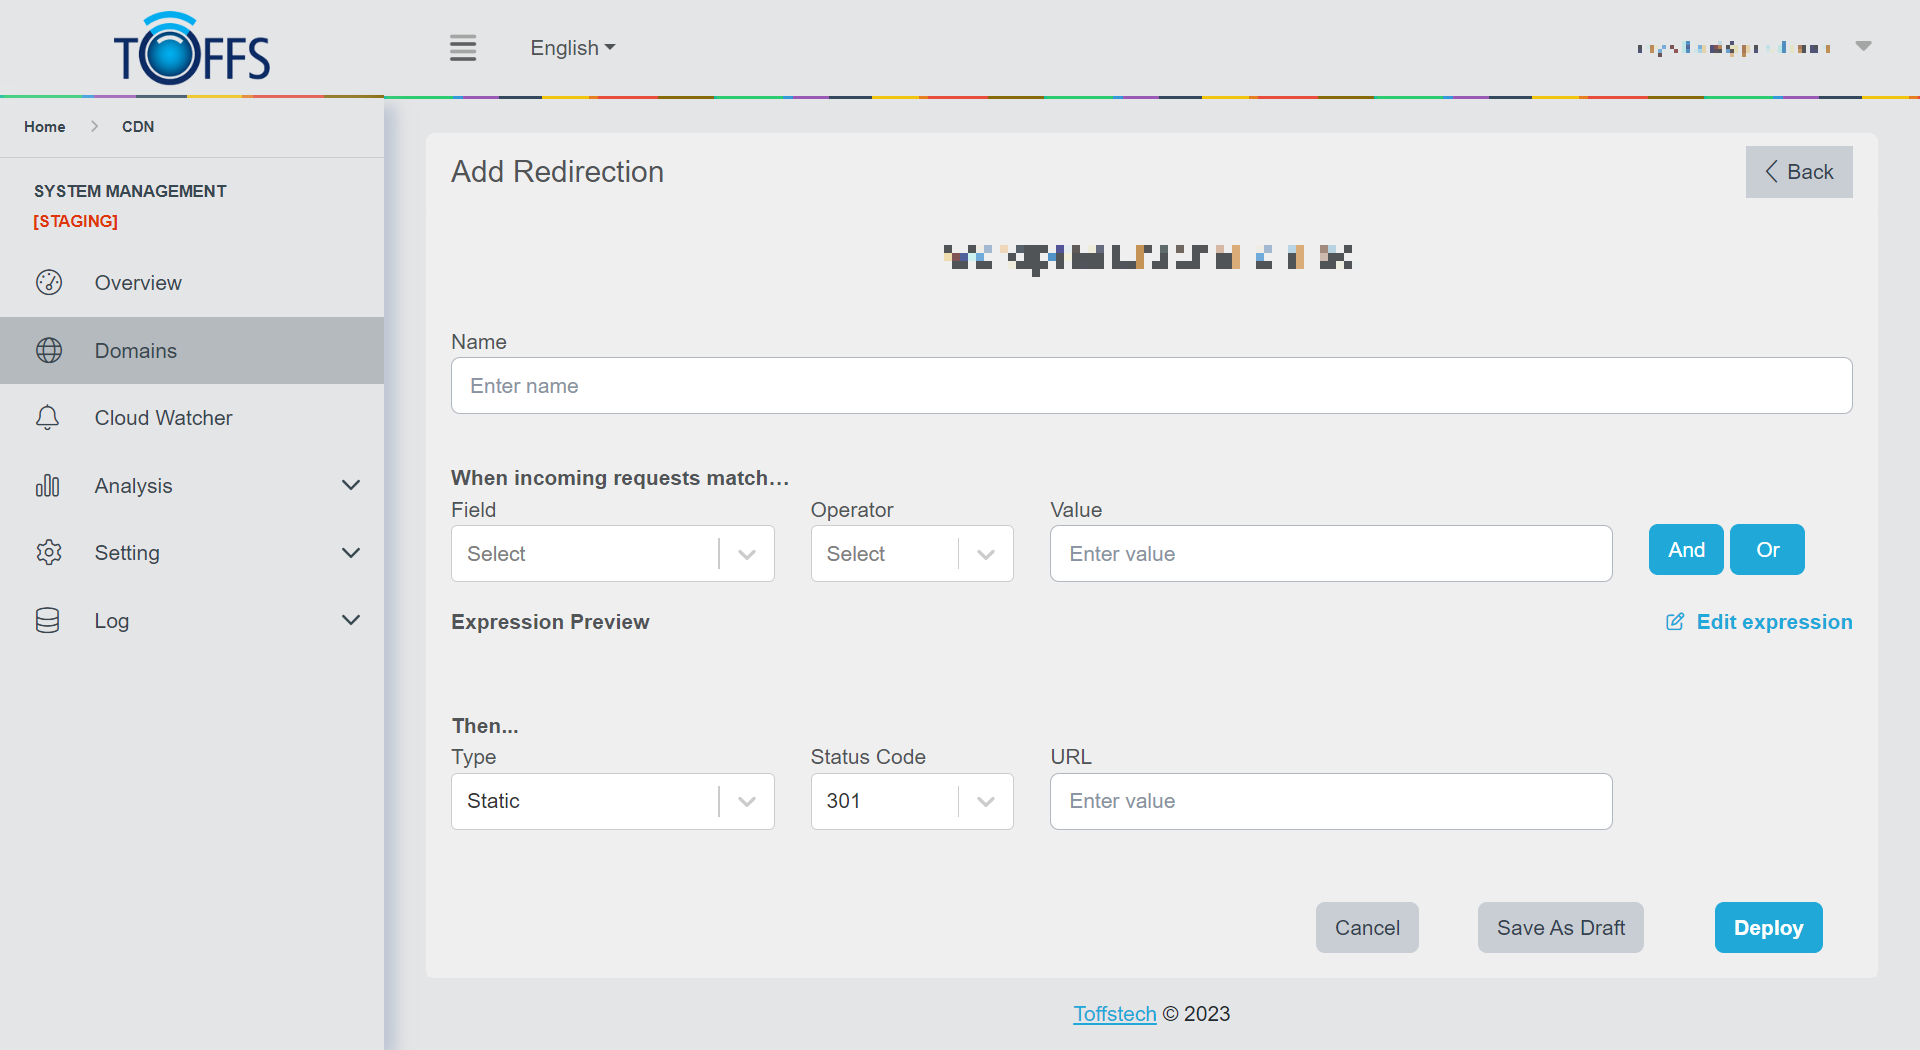 Figure 66
Step 1: Navigate to the Custom Redirection Configuration Go to CDN > Domains > Configuration > Redirection > Custom Redirection.
Step 2: Add a New Custom Redirection Rule Click the ”+ Add” button. Provide a descriptive name for the custom redirection in the Name field.
Step 3: Define the Rule Expression Under the “When incoming requests match” section, define the rule expression. Use the Field drop-down list to select an HTTP property (see Available Fields for options). For each request, the value of the chosen property (Field) will be compared to the specified Value using the selected Operator.
Step 4: Set Redirection Type and URL In the “Then” section, choose a Type value. Select a Status Code value from the available options. Enter the URL to which the request will be redirected.
Step 5: Save and Deploy the Rule To save and deploy the custom redirection rule, click “Deploy”. If you are not ready to deploy yet, you can select “Save as Draft”.
Additional Notes:
- You can use the “And”/”Or” button to set up more complex configurations.
- The Expression Preview section shows the expression, and you can click “Edit expression” to make changes.
- Consider setting priorities for each item in the Custom Redirection section.
- Priority ordering for caching: Custom Redirection > Redirect to Another URL.
With these steps, you can effectively configure custom redirection on your CDN and ensure seamless navigation for your users.
Please contact Toffs Security Operation Center for assistance if you encounter any issues.