Customer Management
Customer Management
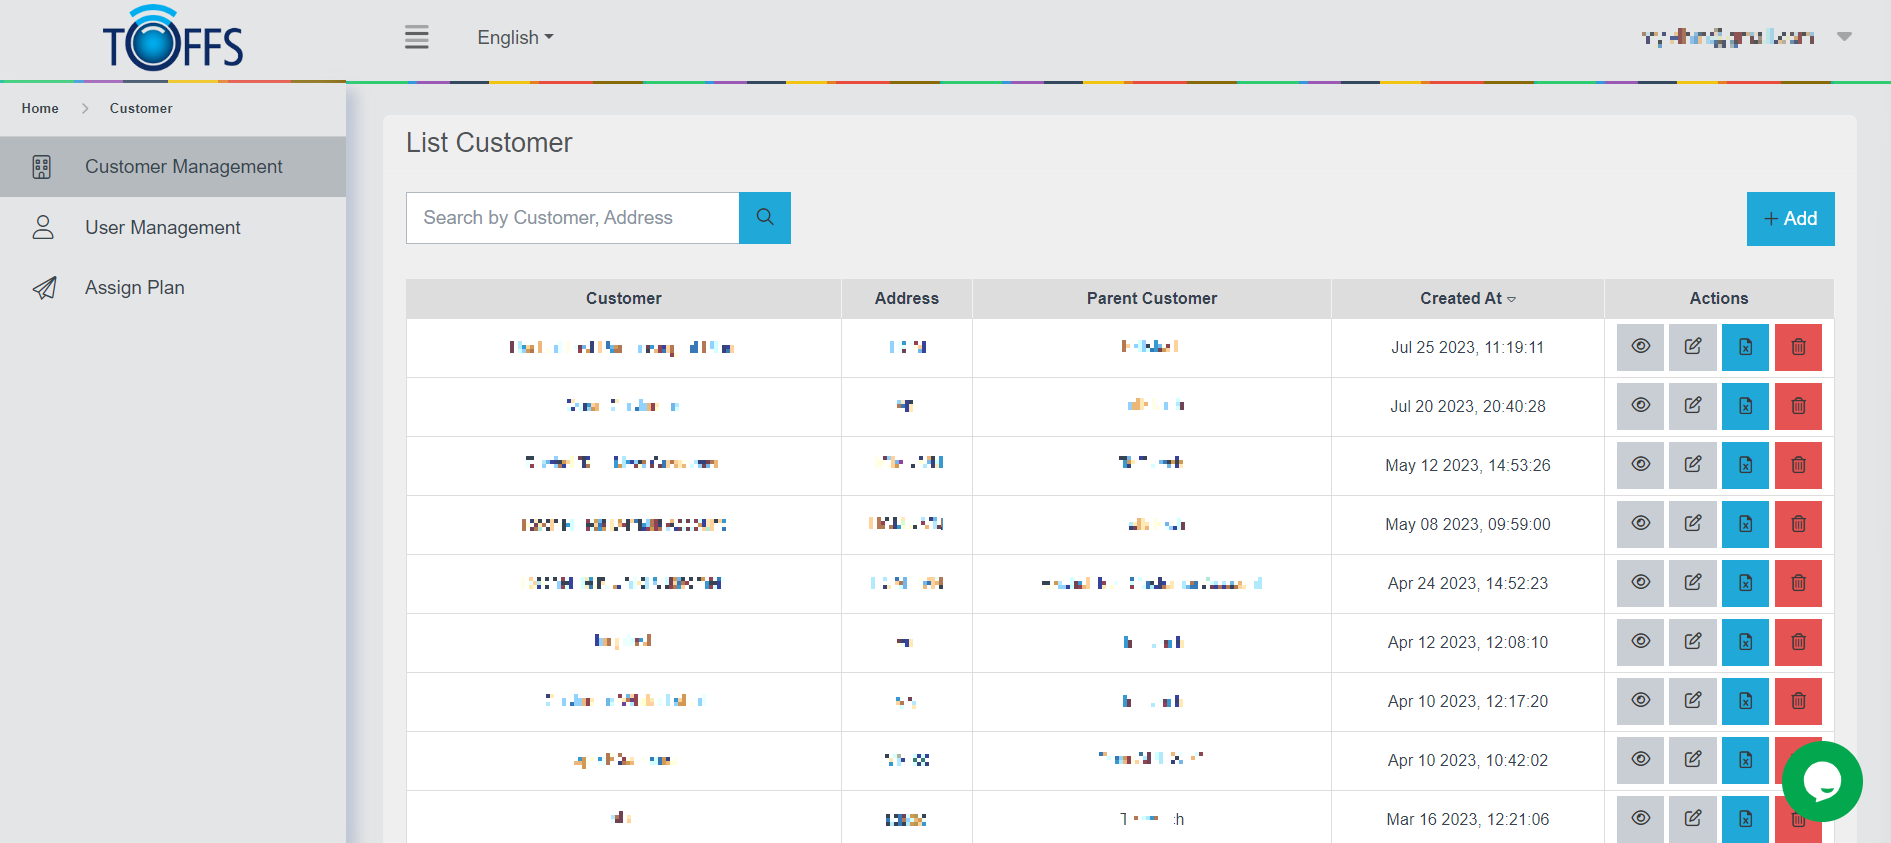
Figure 192
This is the “Customer Management” page.
The customer management page holds the information of various customers including:
- Company Name: This field holds the name of the customer’s company.
- Address: The address associated with the customer’s account is stored here.
- Parent Customer: If applicable, this field indicates the parent account that manages the current account.
- Date of Account Creation: This records the date when the customer’s account was created.
For new users, it’s essential to provide the required information to set up and manage customer accounts effectively.
Click the Edit icon button to update the customer information including Name, Address, and the parent account which manages this account.
Click the Download icon button allow to download the CSV file into the device with all the domain information that belongs to this customer. The CSV file includes host, HTTP ports, scheme, customer name, origin, origin port, cache configuration, redirection, SSL expired date, TLS protocol, and WAF configuration.
Click the Delete icon button to delete this account from the system.
Add a new customer
Adding a new customer is a straightforward process that can be completed in a few simple steps. Follow the instructions below to successfully add a new customer to the system:
Step 1: Access the List Customer Page
Log in to the system and navigate to the “List Customer” page.
Step 2: Click the “+Add” Button
Once you are on the “List Customer” page, locate and click the “+Add” button. This will initiate the process of adding a new customer.
Figure 168: The “+Add” button on the “List Customer” page.
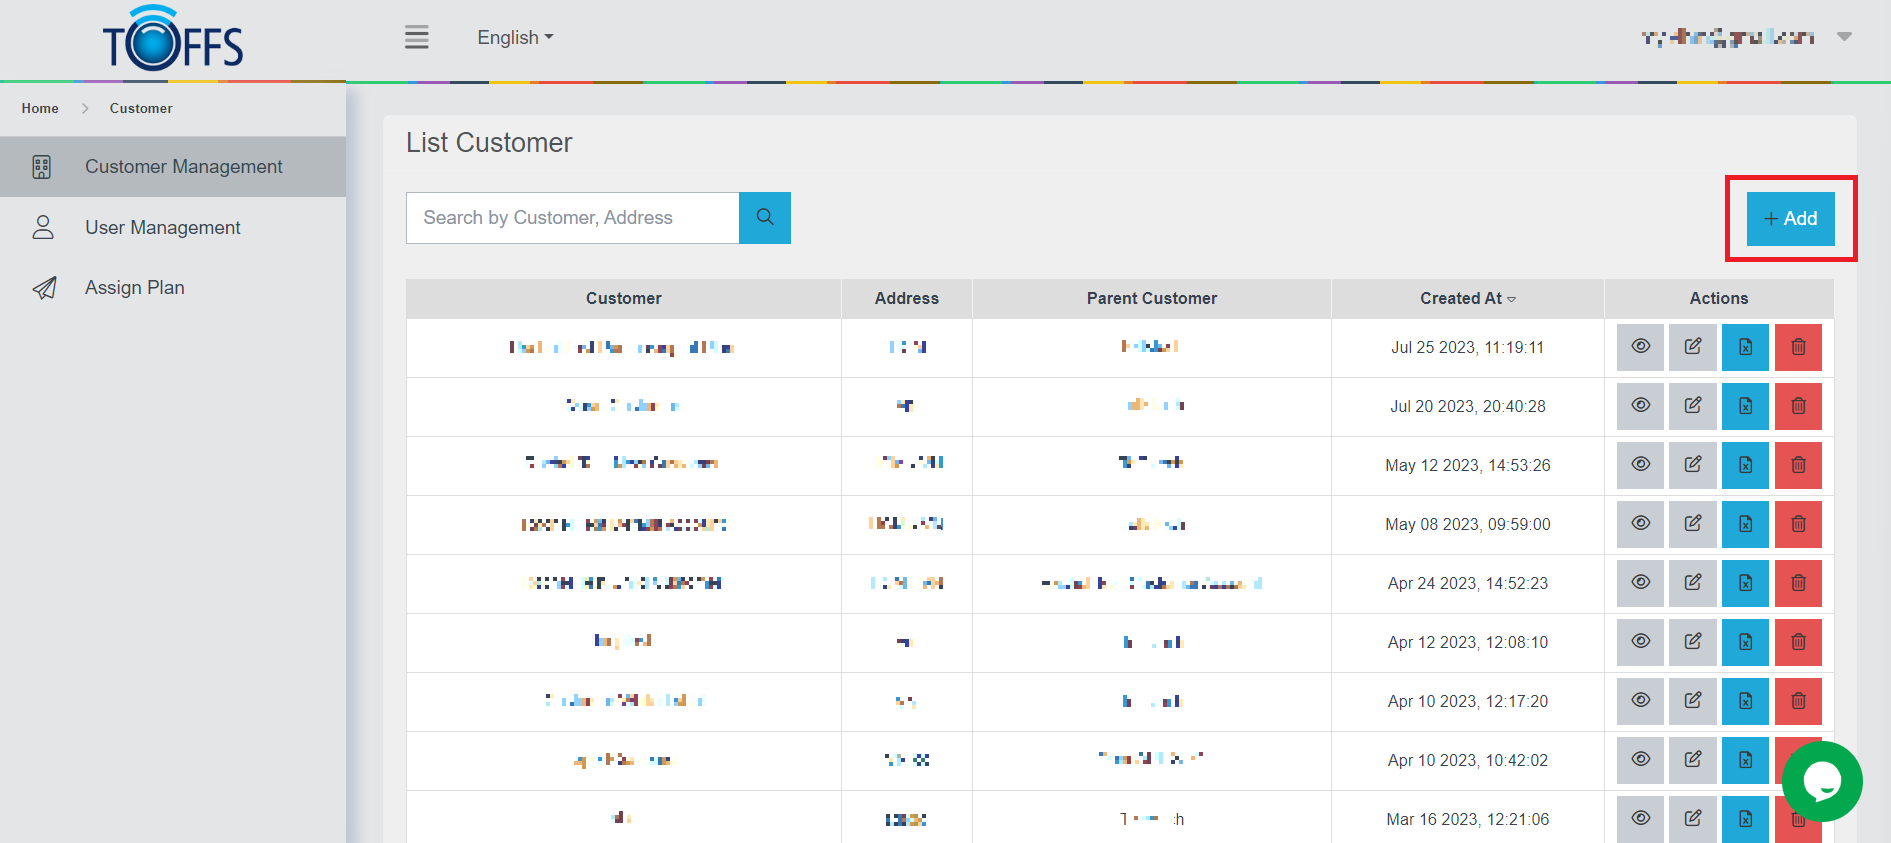 Figure 193
Step 3: Enter Customer Information
After clicking the “+Add” button, you will be redirected to a form where you need to enter the following customer details:
- Customer name: Enter the name of the new customer.
- Customer address: Provide the address of the new customer.
- *Select Management:** Choose the appropriate management option for the customer.
Step 4: Proceed to the Next Step
Once you have filled in the required information, click the “Next” button to proceed to the next stage of the customer addition process.

Figure 194
Step 5: Enter User Information
In this step, you need to provide the user information associated with the new customer. Fill in the following details:
- Name: Enter the name of the user associated with the customer.
- Email: Provide a valid email address for the user.
- Password: Set a secure password for the user account.
- Confirm Password: Re-enter the password to confirm accuracy.
Step 6: Save the Customer
Once you have entered all the necessary user information, click the “Save” button to finalize the addition of the new customer.
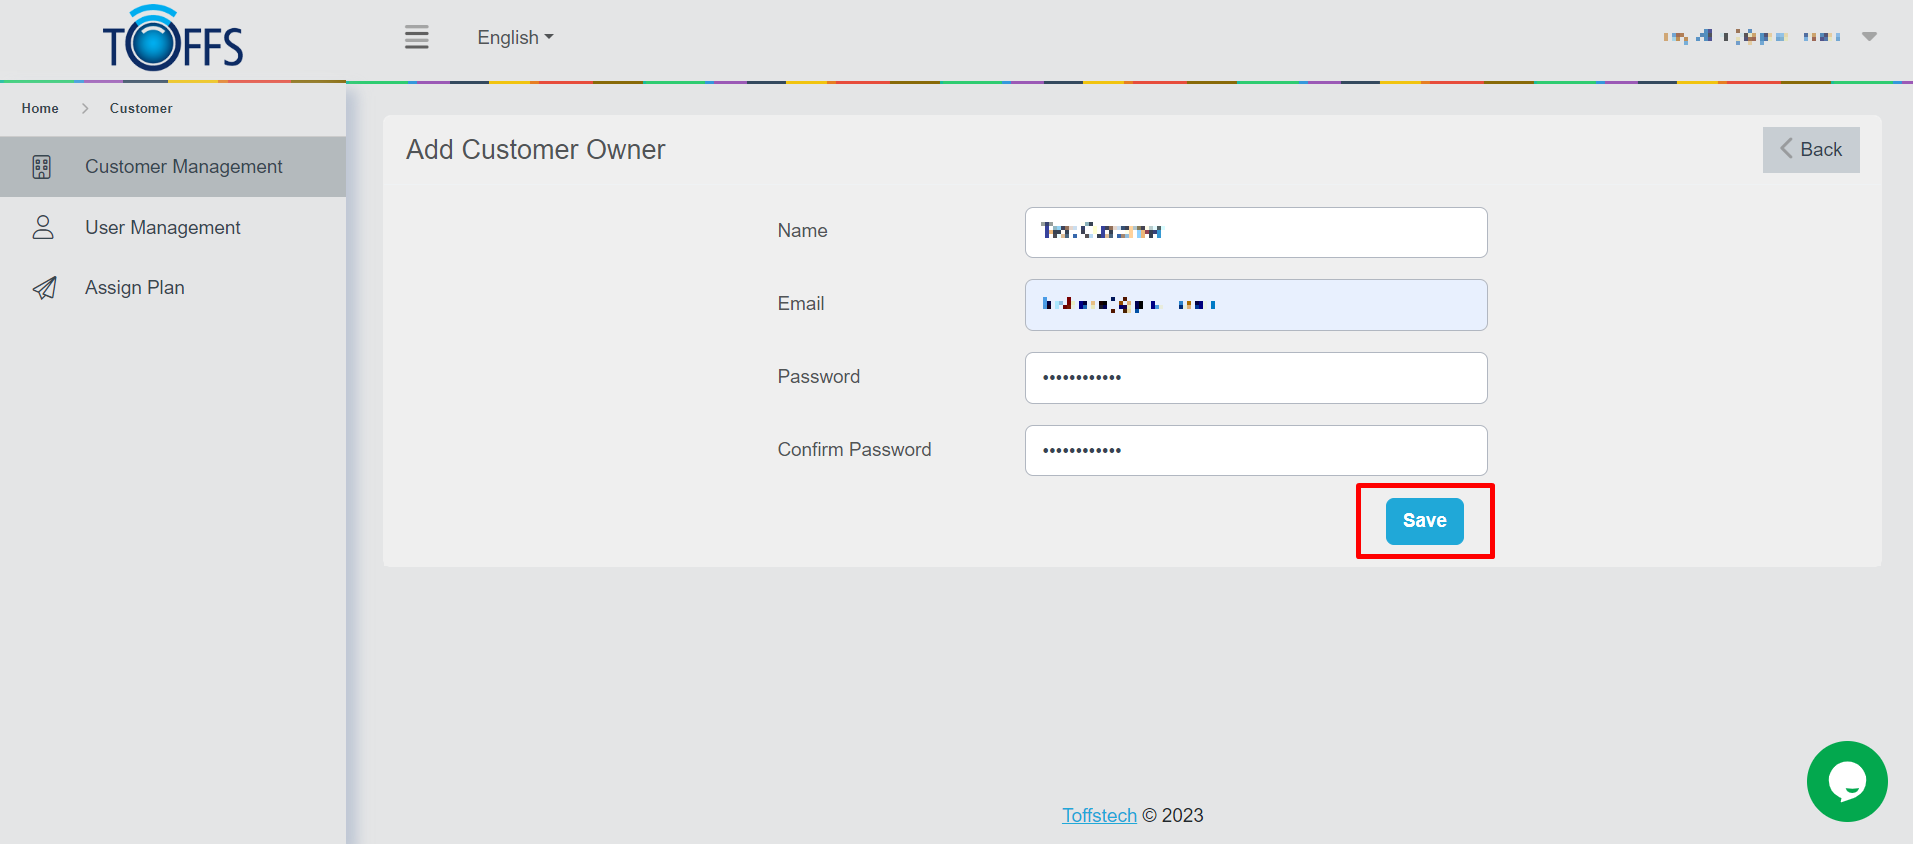
Figure 195
Customer Addition Success
Upon successfully adding the customer, you will be directed back to the “List Customer” page, where you can now see the details of the newly added customer.
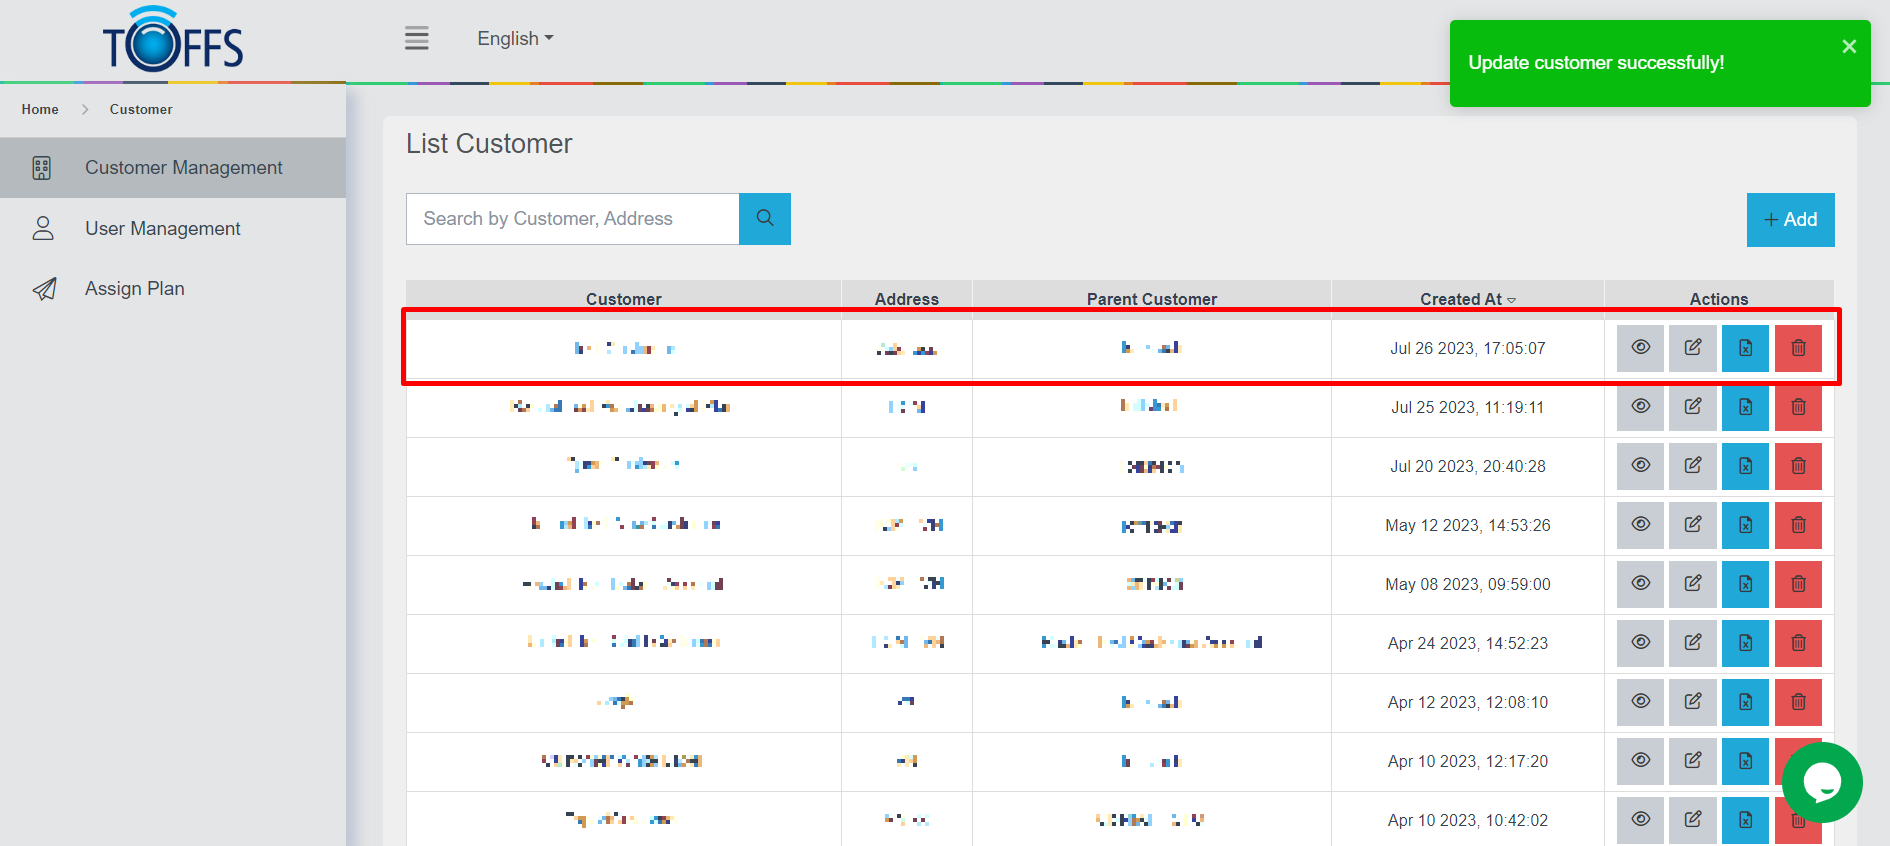
Figure 196
User Association
Additionally, the system will also display the details of the newly associated user on the “List User” page.
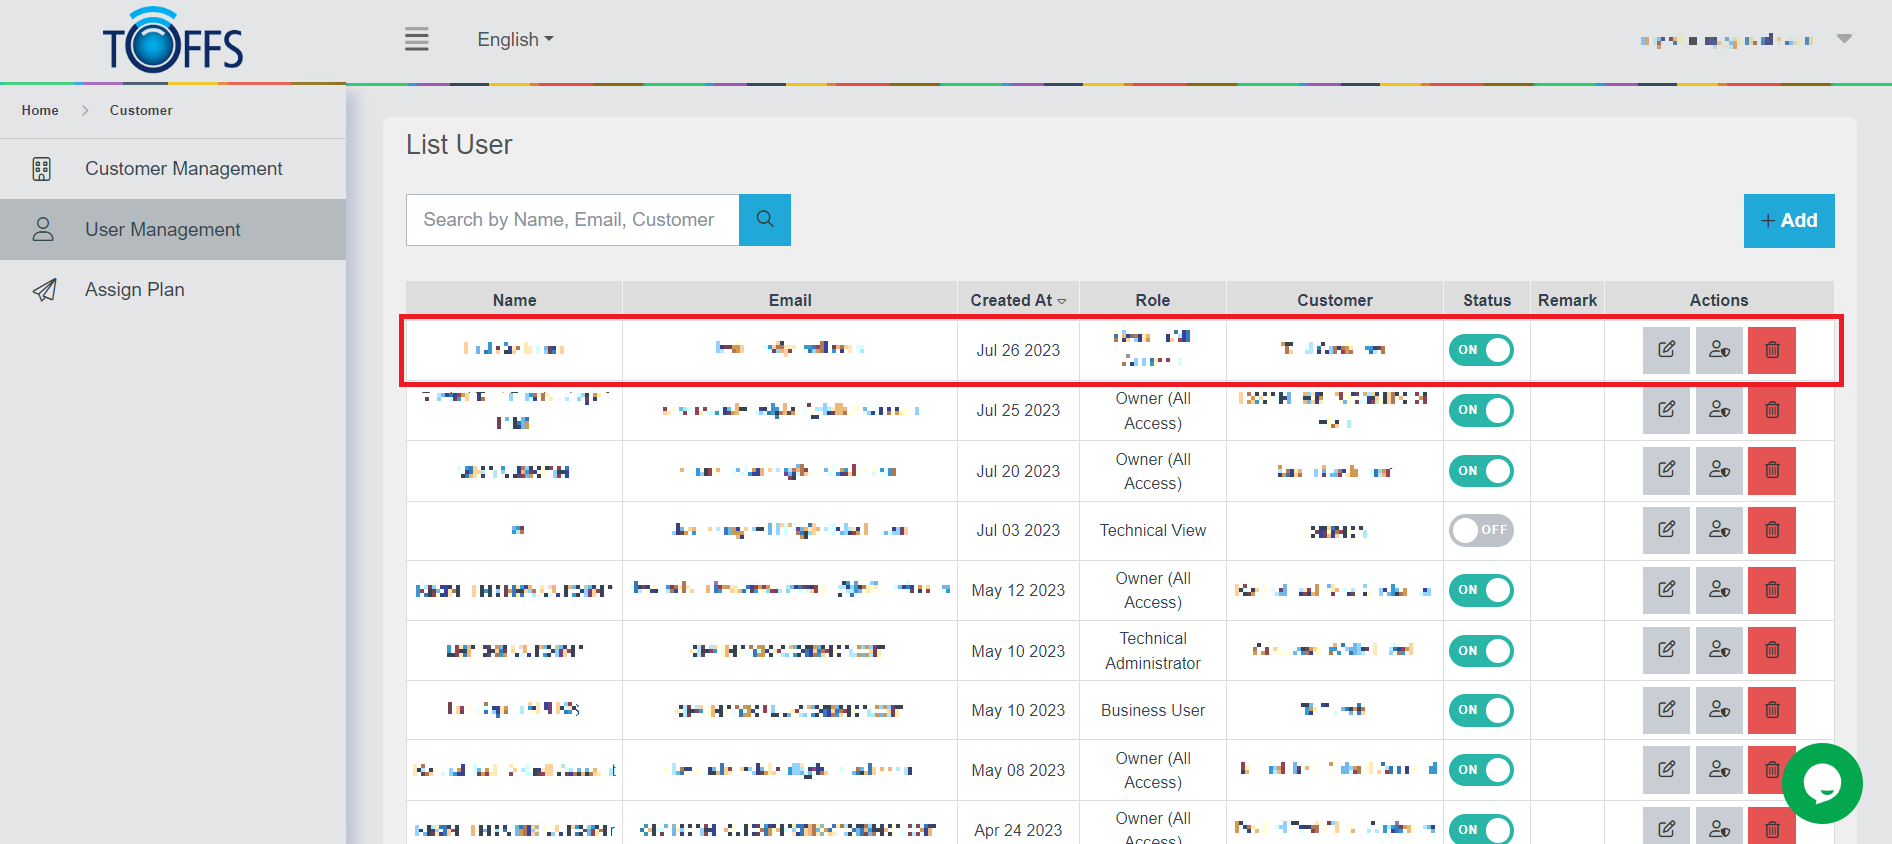
Figure 197
Edit a customer’s details
To make changes to a customer’s details, follow these simple steps:
Step 1: Access the List Customer Page
First, navigate to the List Customer page in the system. Here, you’ll find a list of all your customers.
Step 2: Locate the Customer to Edit
Identify the customer whose details you want to edit. Look for the “Edit” symbol button located next to their respective entry in the list.
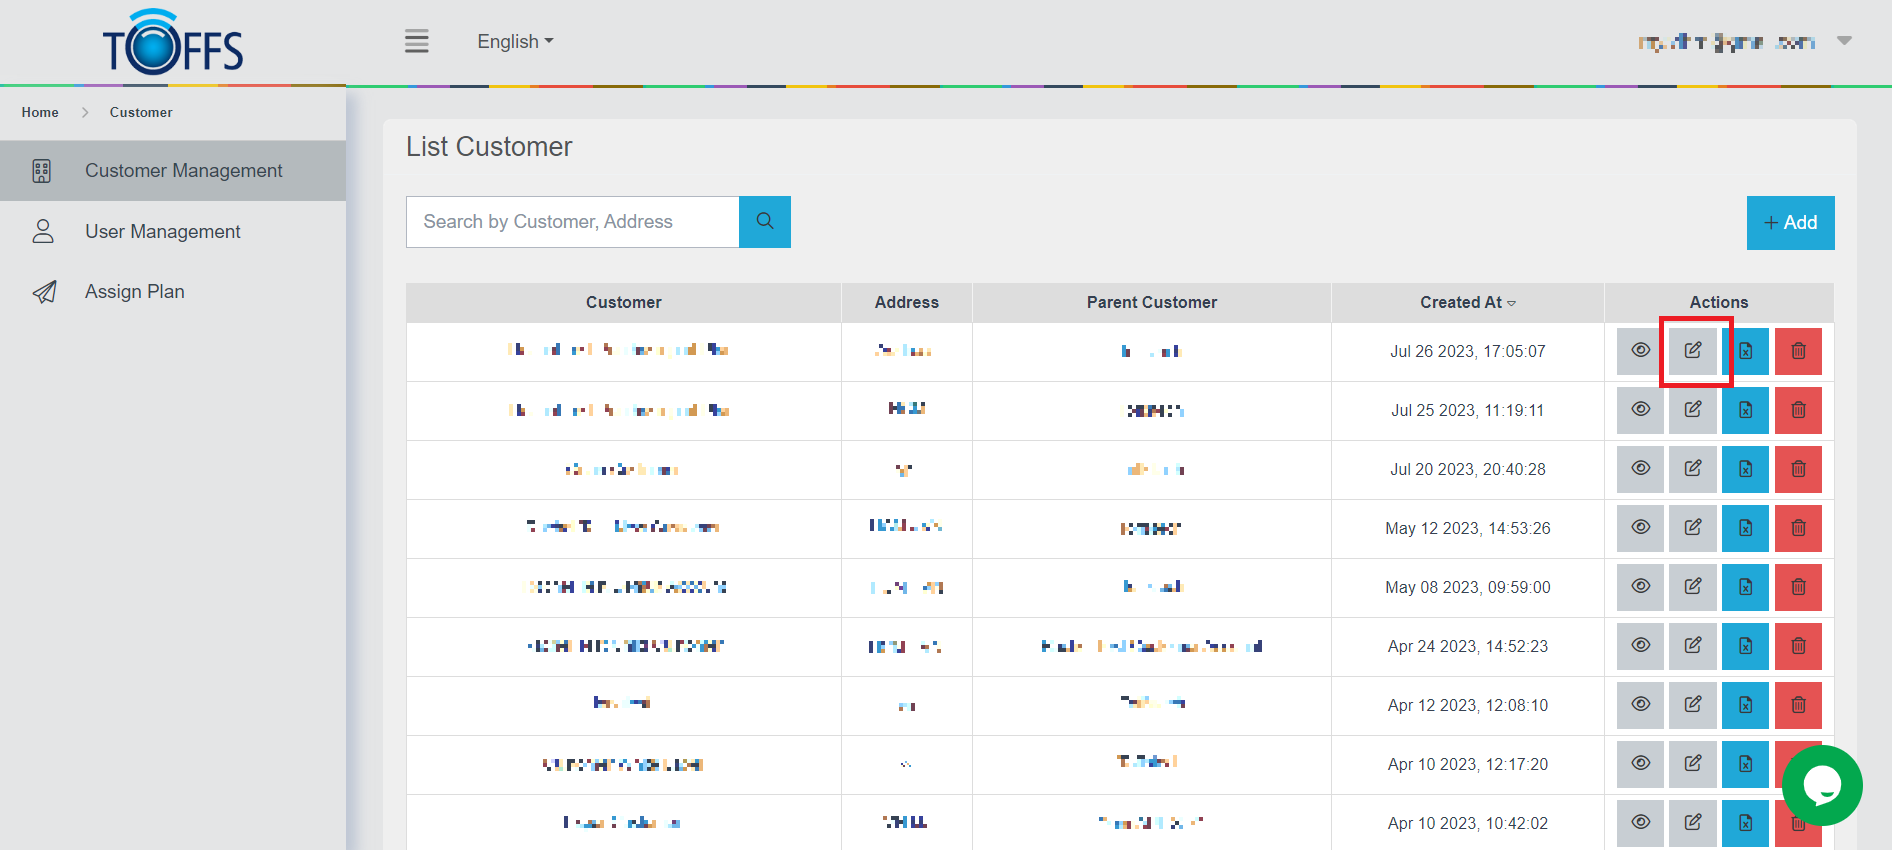
Figure 198
Step 3: Enter the Update Customer Page
Upon clicking the “Edit” symbol, the system will automatically redirect you to the Update Customer page. This is where you can make the necessary edits or updates to the customer’s information.
Step 4: Save Your Changes
Once you have made the desired modifications, don’t forget to click the “Save” button to apply the changes.
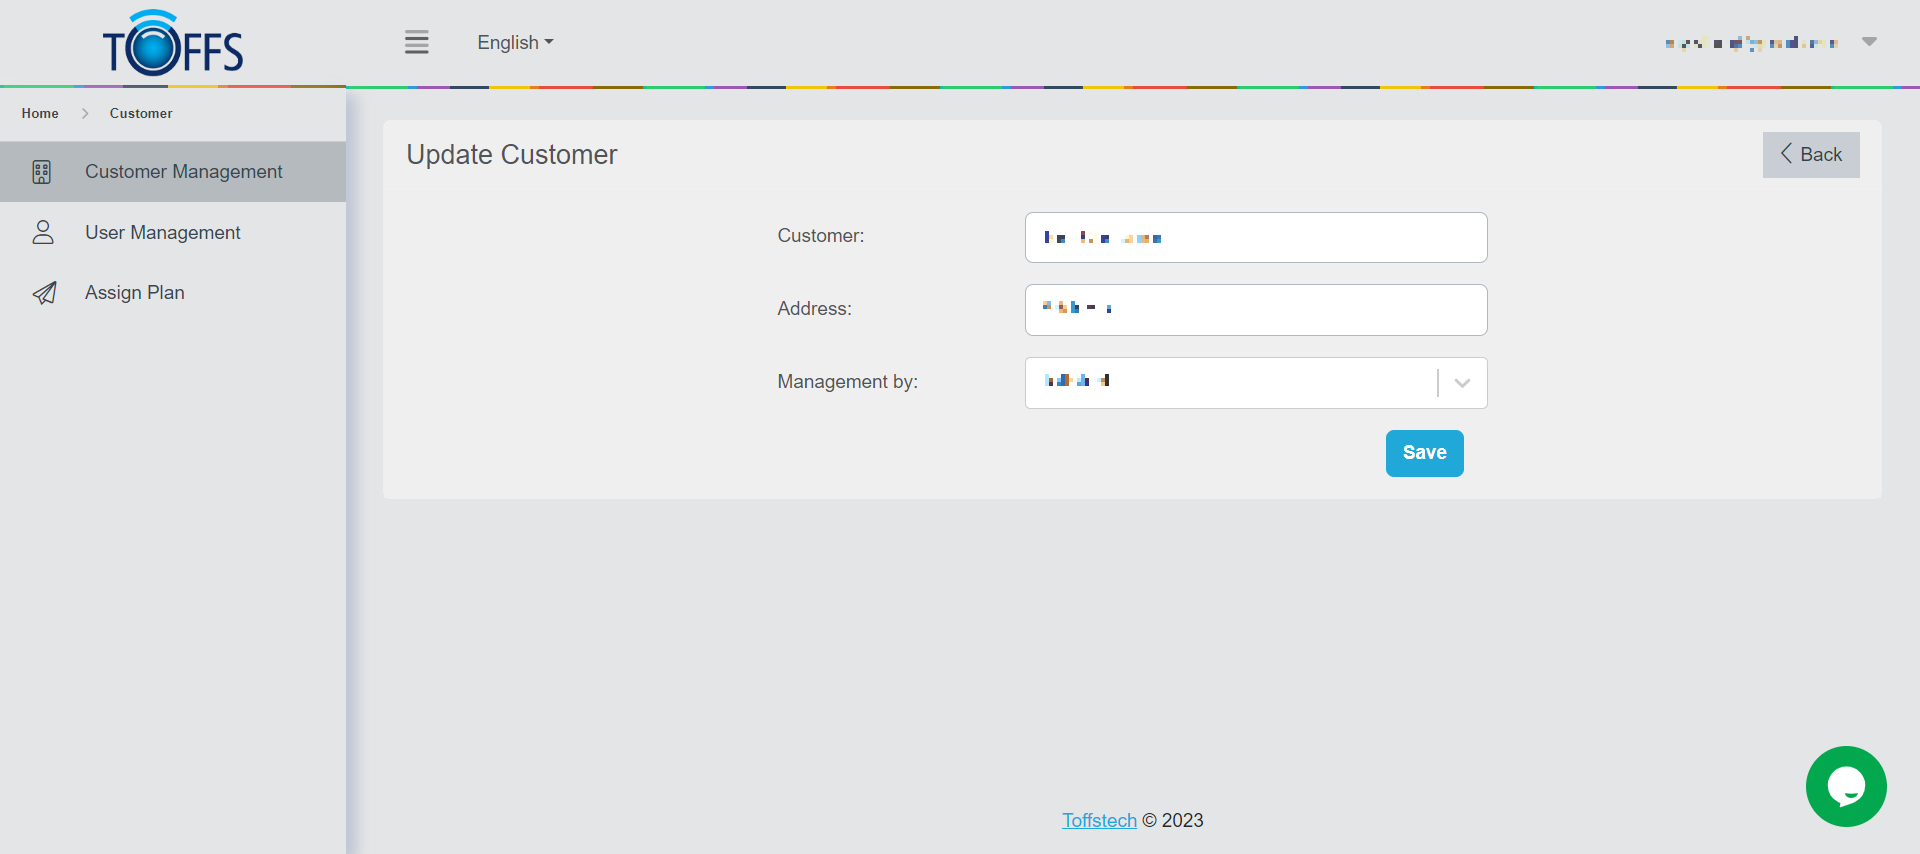
Figure 199
Step 5: Confirmation
The system will process your changes and update the customer’s information accordingly.
Delete a customer
Deleting a customer from the system is a straightforward process. Just follow these simple steps:
Step 1: Access the List Customer Page
Firstly, navigate to the List Customer page. You can find this page in the system’s interface.
Step 2: Locate the “Delete” Symbol Button
On the List Customer page, search for the “Delete” symbol button. This button will be used to initiate the deletion process.
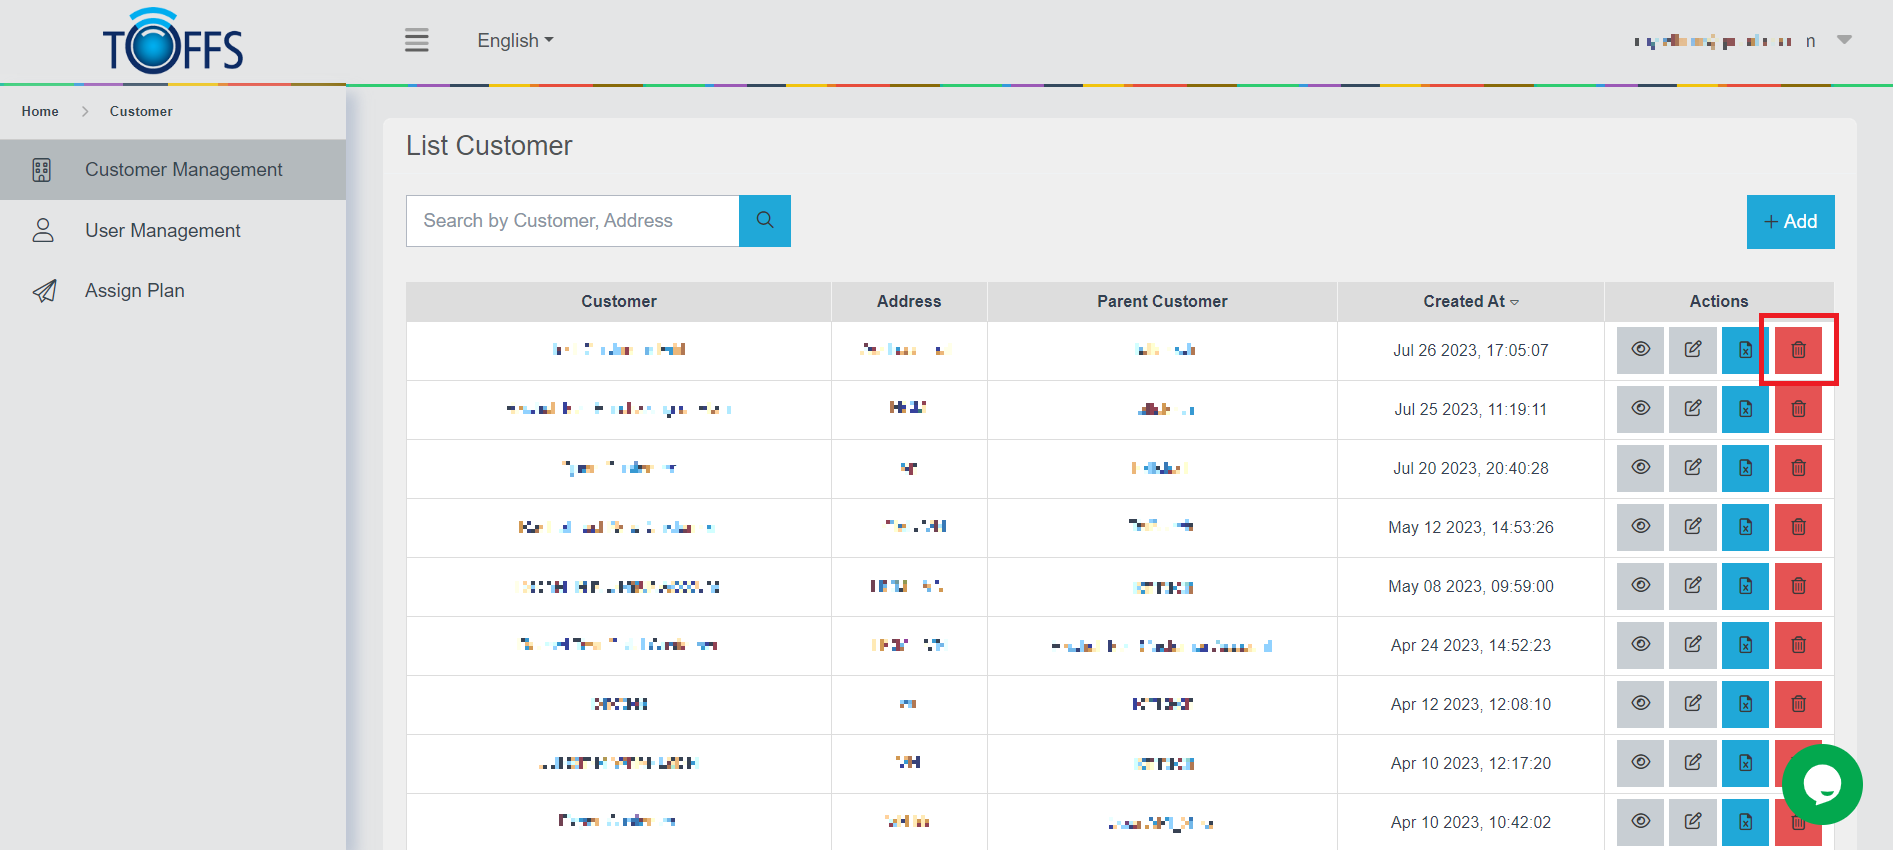
Figure 200
Step 3: Confirm Deletion
After clicking the “Delete” symbol button, a dialogue box will appear to confirm the deletion. If you are sure you want to proceed with the deletion, click the “Yes” button.
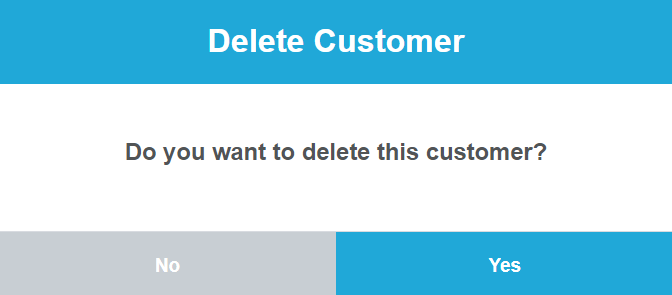
Figure 201
Step 4: Successful Deletion
Once you have confirmed the deletion, the customer will be permanently removed from the system.
Note: Exercise caution while performing this action, as deleted data may not be recoverable. Always double-check before confirming the deletion.
Download the details of a customer
To access the customer’s details, simply proceed with the following steps to download the information.
Step 1: Locate the Download Icon
We will learn how to download the details of a customer effortlessly. To get started, let’s locate the Download icon button. You can usually find this icon in the user interface or dashboard of the application you are using.
Step 2: Click the Download Icon
Once you have located the Download icon, simply click on it to initiate the download process. The system will then begin to generate a CSV (Comma-Separated Values) file containing comprehensive information about the customer’s domain.
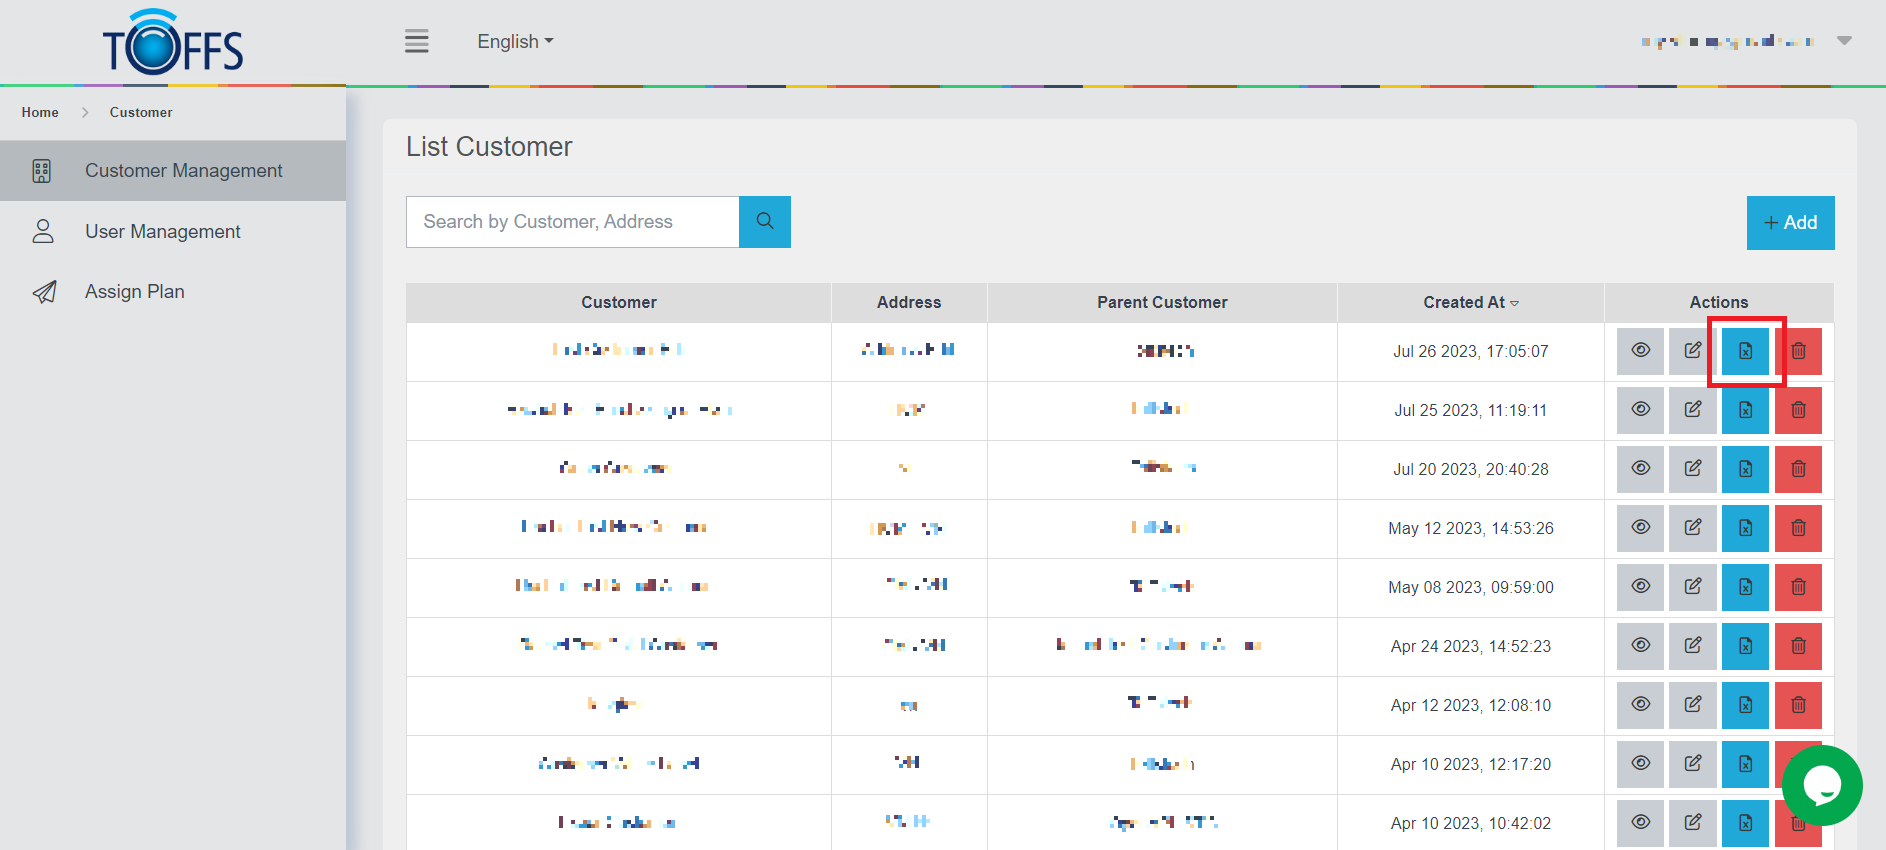 Figure 202
Step 3: Save the CSV File
After clicking the Download icon, a prompt will appear, allowing you to choose the download location on your device. Select a suitable directory and save the CSV file there.
Step 4: Explore Customer Details
Once the CSV file has been downloaded successfully, you can open it using any spreadsheet software, such as Microsoft Excel or Google Sheets. The file will contain various essential details related to the customer’s domain, including:
- Host: The host details associated with the customer’s domain.
- HTTP Ports: Information about the HTTP ports utilized.
- Scheme: The scheme used for communication (e.g., HTTP, HTTPS).
- Customer Name: The name of the customer.
- Origin: Details about the origin of the customer’s domain.
- Origin Port: The port number for the domain’s origin server.
- Cache Configuration: Configuration settings for caching data.
- Redirection: Information about URL redirection if applicable.
- SSL Expiry Date: The expiration date of the SSL certificate.
- TLS Protocol: The version of the TLS protocol being used.
- WAF Configuration: Configuration settings for the Web Application Firewall.
By following these simple steps, you can easily download and access all the vital domain information associated with your customer. This data can prove invaluable for further analysis, reporting, or any other business-related purposes.
Please contact Toffs Security Operation Center for assistance if you encounter any issues.